Showing posts with label Ubuntu. Show all posts

Sunday, August 17, 2014

Android development with Java

Here is a nice introduction of how to develop android apps using Java

Please copy paste the link given below.

www.linuxuser.co.uk/tutorials/android-development-with-java

Wednesday, October 30, 2013

Build essential package on Ubuntu

There had been lots of time during installation of packages on Ubuntu or other derivatives of it, when I used to install development packages separately. Like gcc g++ etc individually. However the is a easier way to do it. Just install "build-essential" package and this meta package will install those quintessential packages for you. No need to separately select and install those packages anymore.

Thanks.
Monday, March 4, 2013

What's new in Intelij IDEA 12

Recently when I checked update for Intellij IDEA I found that new version of ide has been released. Check the link below to see new features:

http://www.jetbrains.com/idea/whatsnew/

What I noticed is that Android support has been improved. With update to Android 4.2, IDEA 11 was no longer working with SDK, which is working now.

Wednesday, February 27, 2013

Connecting internet with tata docomo on Ubuntu

Here is a small post for those who still likes or are bound to use wvdial to connect to Internet.

I have a Tata Docomo sim with huawei e173 usb modem.Following is my /etc/wvdial.conf on Ubuntu 10.4.


[Dialer Defaults]
Init1 = ATZ
Init2 = ATQ0 V1 E1 S0=0 &C1 &D2 +FCLASS=0
Password = internet
Phone = *99#
Modem Type = Analog Modem
Stupid Mode = 1
Init3 = AT+CGDCONT=1, "IP", "TATA.DOCOMO.INTERNETHVC"
Baud = 9600
New PPPD = yes
Modem = /dev/ttyUSB_utps_modem
ISDN = 0
Username = internet
Auto Reconnect = yes

Though officially (at the time of writing this) only Tata Docomo dongles are supported, and most probably you will get this reply from CC. Still a helpful soul at CC sms'd me this line

AT+CGDCONT=1, "IP", "TATA.DOCOMO.INTERNETHVC

rest is from other sources from Internet and auto generated. A good way is to run wvdialconf and then try to add the missing lines from above, rather than copy pasting whole file.

Hope that helps.

Saturday, October 20, 2012

changing splash screen in ubuntu

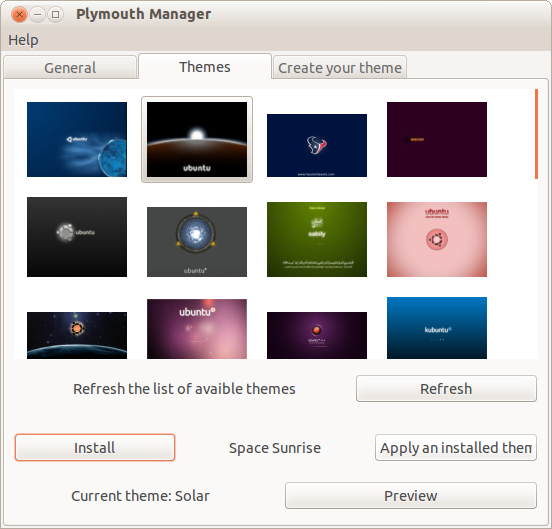
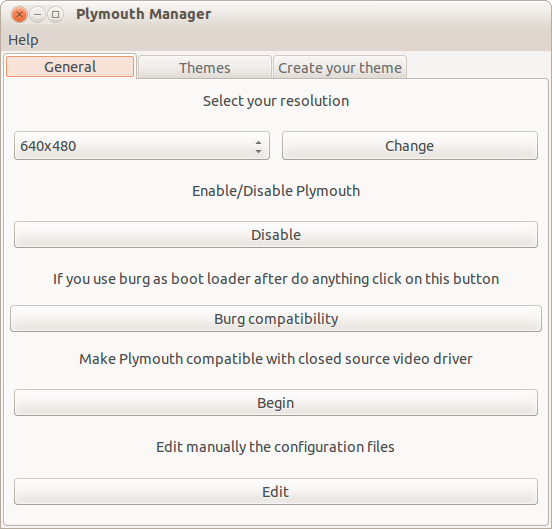
Unlike my previous post if you  want to change the splash screen you can do so with plymouth-manager.

Download it from here and install it with gdebi package manager.

Run it from command line as "plymouth-manager".


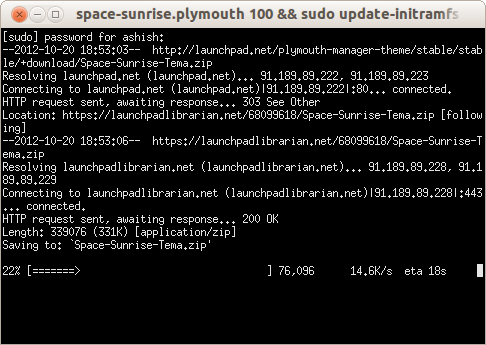
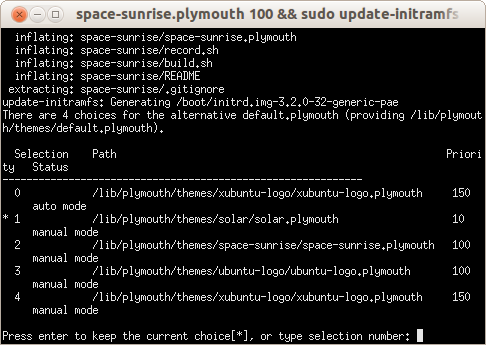
Click on "Themes" and install any theme.


Now choose from the available list


Reboot and watch newly installed theme.

Share it if you liked it.

Removing home directory contents from your desktop

Recently I was trying to install xfce 4.10 on my Ubuntu 12.04 OS but found my desktop filled with my home directory contents.

This is what I do to remove the contents.

Open "~/.config/users-dirs.dirs" file and chnage line with XDG_DESKTOP_DIR as "XDG_DESKTOP_DIR="$HOME/Desktop"", and log out and come back ( alternatively restart).

And you shall have only desktop icons on your desktop.


Friday, October 19, 2012

Removing splash screen from your Ubuntu

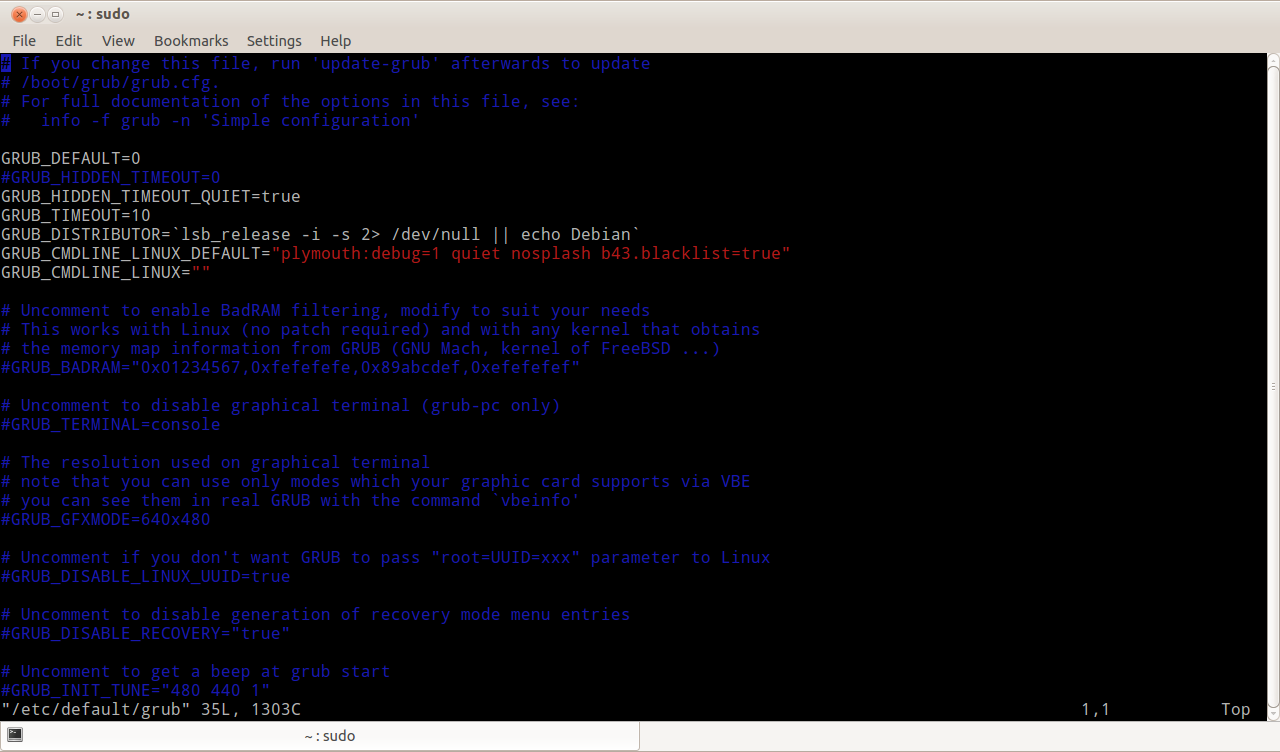
Many a times one may want to get completely rid of boot splash screen. Here's what one needs to do to get it.

Edit grub defaults file with "sudo vi /etc/default/grub" and change "splash" to "nosplash"


Update grub with "sudo update-grub"" and it shall generate boot menus with new option.


Saturday, September 29, 2012

Installing Oracle JDK on Ububtu 12.04 and openSuse 12.2

Ubuntu and openSuse both come with openJDK installed, however at times one needs Oracle JDK to be present in the system. Here are the steps needed to install it on both OS.


1. Download Oracle JDK  fron oracle site Download Oracle JDK. These instrction are for 

Java SE 6 Update 35.


2. Copy it to "/usr/lib/jvm" directory
# cp jdk-6u35-linux-i586.bin /usr/lib/jvm
3. Make it executable and run it
 # chmod +x jdk-6u35-linux-i586.bin
# ./jdk-6u35-linux-i586.bin
It shall unzip itself and create directories.

4. Install it in alternatives system
# sudo update-alternatives --install /usr/bin/java java /usr/lib/jvm/jdk1.6.0_35/bin/java 1 
 # sudo update-alternatives --install /usr/bin/javac javac /usr/lib/jvm/jdk1.6.0_35/bin/javac 1
 # sudo update-alternatives --install /usr/bin/javaws javaws /usr/lib/jvm/jdk1.6.0_35/bin/javaws 1
 Here is what update-alternatives' man page says about installing
update-alternatives  --install <link> <name> <path> <priority>

5. Now select it as default by running these commands and select the JDK
# sudo update-alternatives --config java
# sudo update-alternatives --config javac
# sudo update-alternatives --config javaws 
6. Create plugin link
# sudo ln -s /usr/lib/jvm/jdk1.6.0_35/jre/lib/i386/libnpjp2.so /usr/lib/mozilla/plugins
7. Now test it with version
# java  -version
java version "1.6.0_35"
Java(TM) SE Runtime Environment (build 1.6.0_35-b10)
Java HotSpot(TM) Client VM (build 20.10-b01, mixed mode, sharing)

For openSuse all above is same except these enviornment variables needs to be put in "/etc/profile"

export JAVA_HOME=//usr/lib/jvm/jdk1.6.0_35/
export JAVA_BINDIR=//usr/lib/jvm/jdk1.6.0_35/bin/
export JAVA_ROOT=//usr/lib/jvm/jdk1.6.0_35/
export JDK_HOME=//usr/lib/jvm/jdk1.6.0_35/
export JRE_HOME=//usr/lib/jvm/jdk1.6.0_35/

Some software like jEdit use  these variables to detect Java.

Though these instructions are for Ubuntu and openSuse, they might work for other distros.

Hope this helps as I got from other sources.

Thanks for reading.